Assembler Eliobot
Introduction
Welcome to the Eliobot tutorial platform, today we are going to learn how to assemble your new robot.
Are you ready? 😃
This video shows you the entire assembly of Eliobot, and you will find all the steps step by step below
The video may no longer be up to date, check the steps below
The step-by-step tutorial:
By following this tutorial you will learn how to assemble Eliobot with ease. All the steps are detailed to assist you in its construction.
Difficulty: Easy ● ○ ○
Steps: 6
Time required: 15 to 20 minutes ⏱
Equipment: A screwdriver 🪛
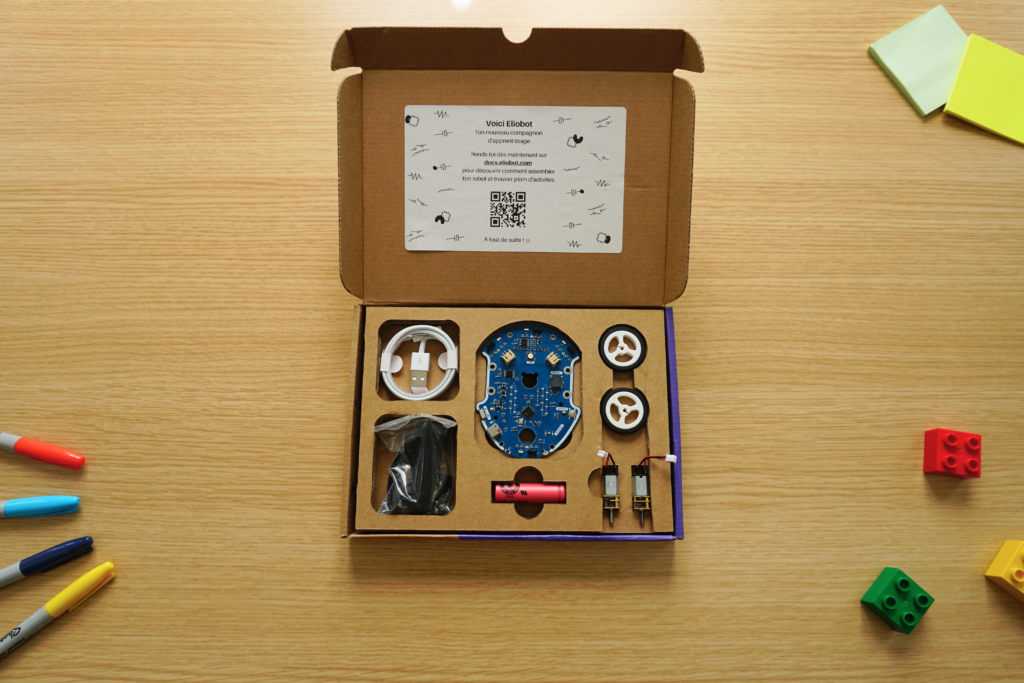
Step 1: Unpacking the box
By opening the box, you will find all the elements that make up your new robot.
The supplied USB cable will be used for programming, as well as for recharging the battery.
The practical glossary before starting construction
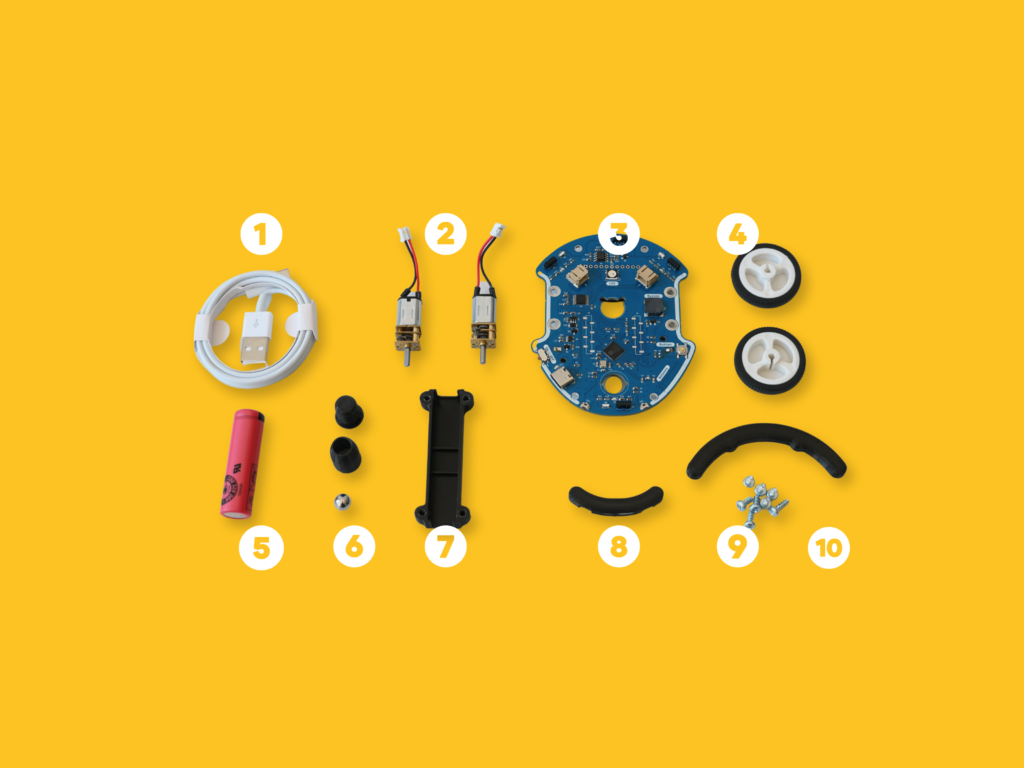
- USB cable
- Motors
- Electronic card
- Wheels
- Battery
- Idler wheel
- Engine mounts
- Rear bumper
- Screw
- Front bumper
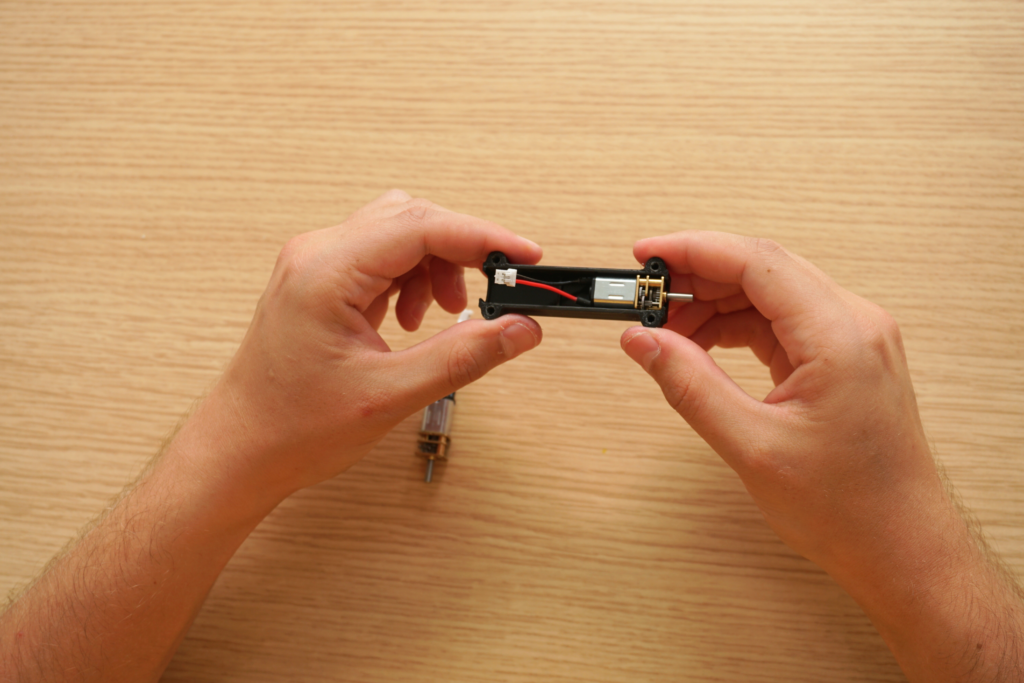
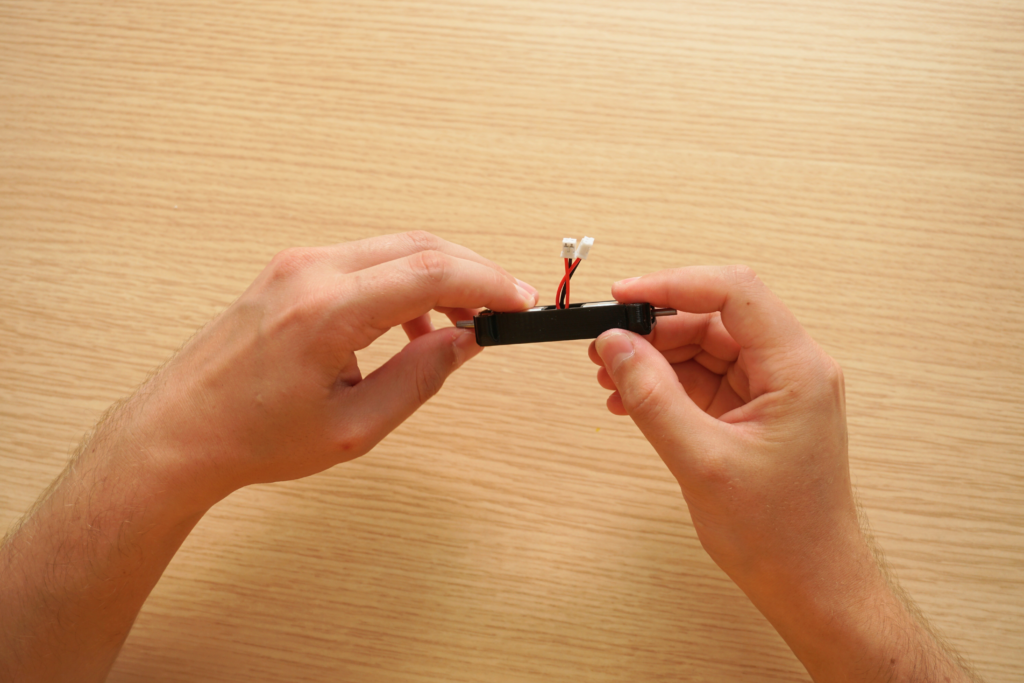
Step 2: Motor Assembly
For this step you will need the engine mount and motors.
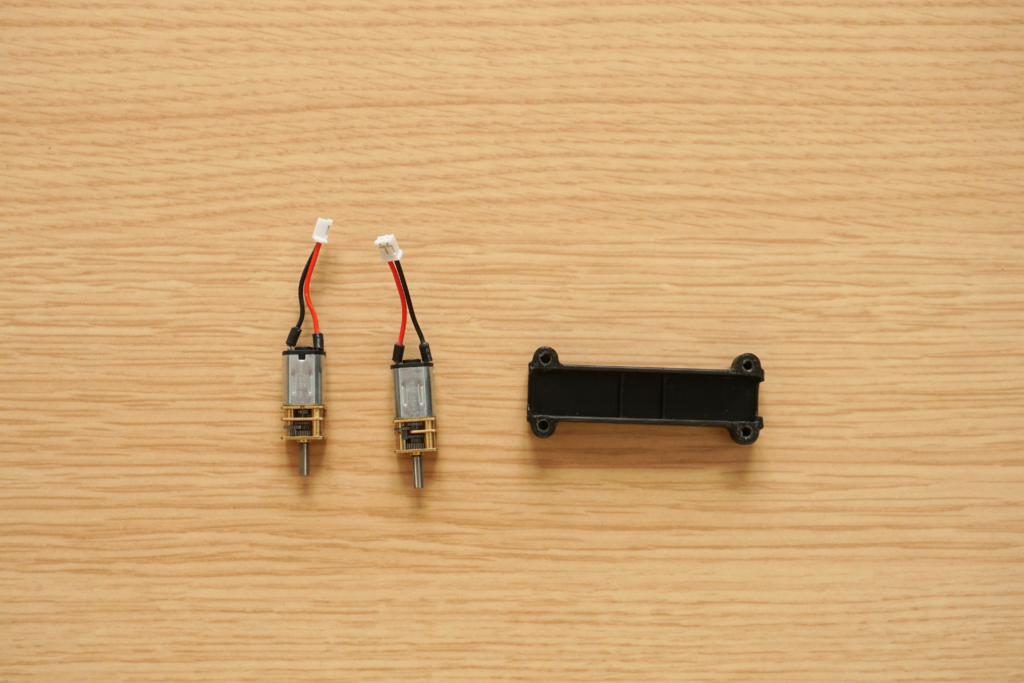
Insert the motors into their support, taking care that they are well aligned and do not protrude.

Step 3: Motor assembly – electronic card
For this step, you will need the motor support, the electronic card, 4 screws and a screwdriver.
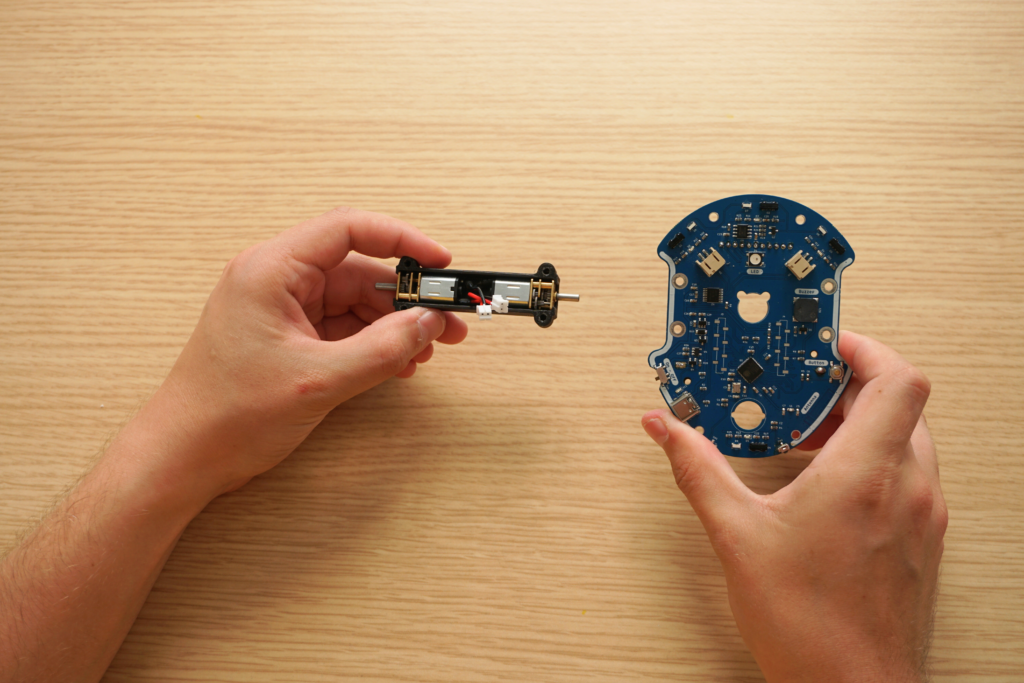
Slide the motor cable into the opening on the electronic card. They will slide in easily.
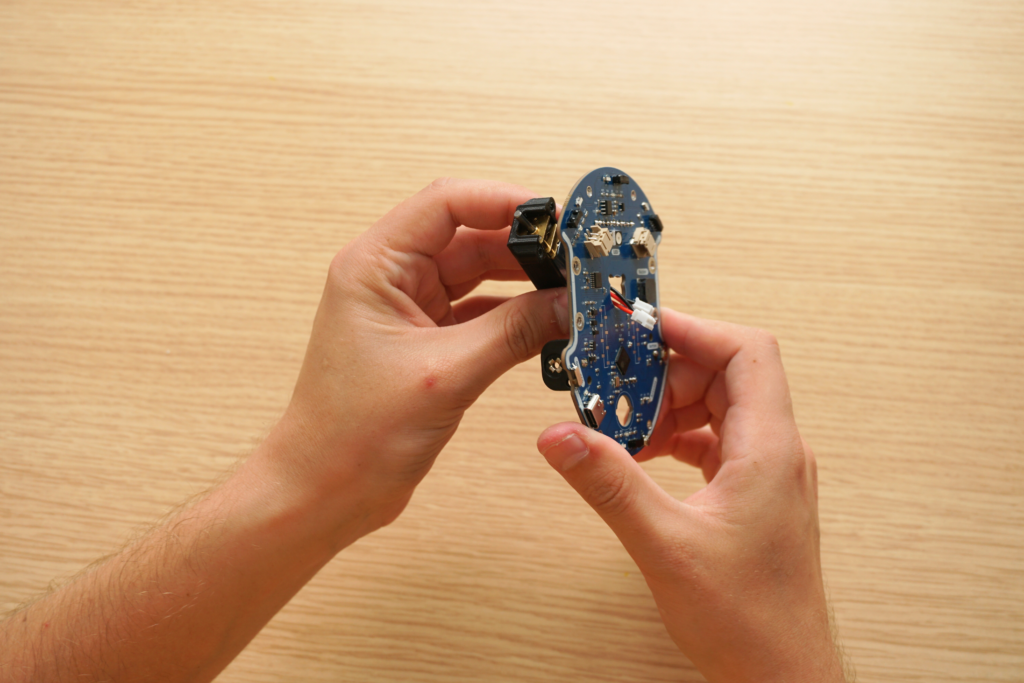
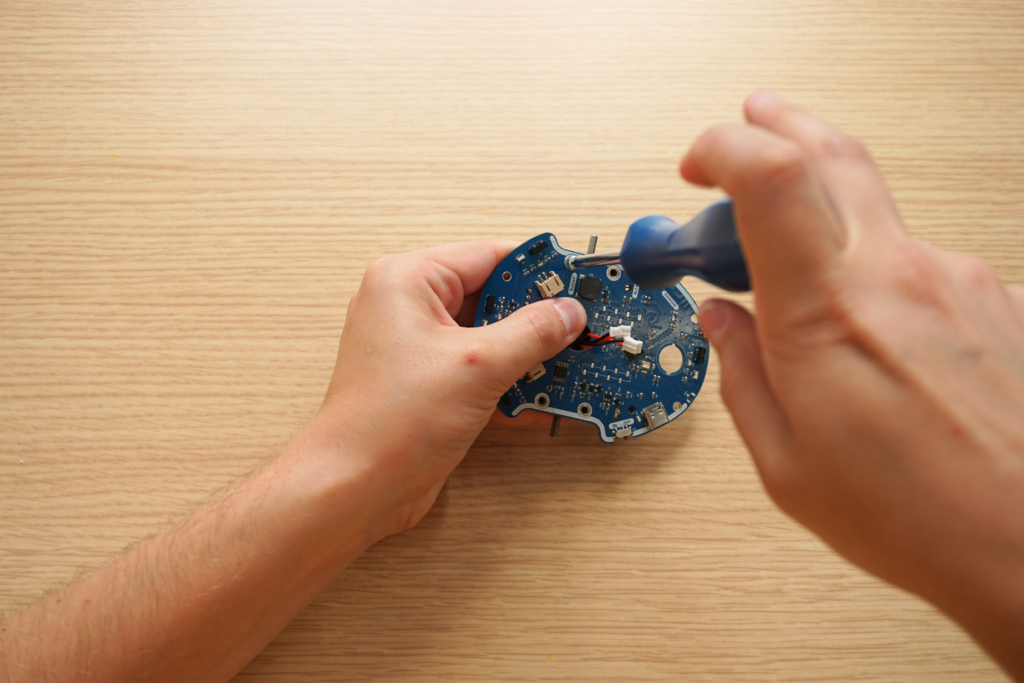
Insert then screw the first 4 screws from the upper face of the electronic card. There are 2 per side.
Still on the top side of Eliobot, connect the motor wires to the board.
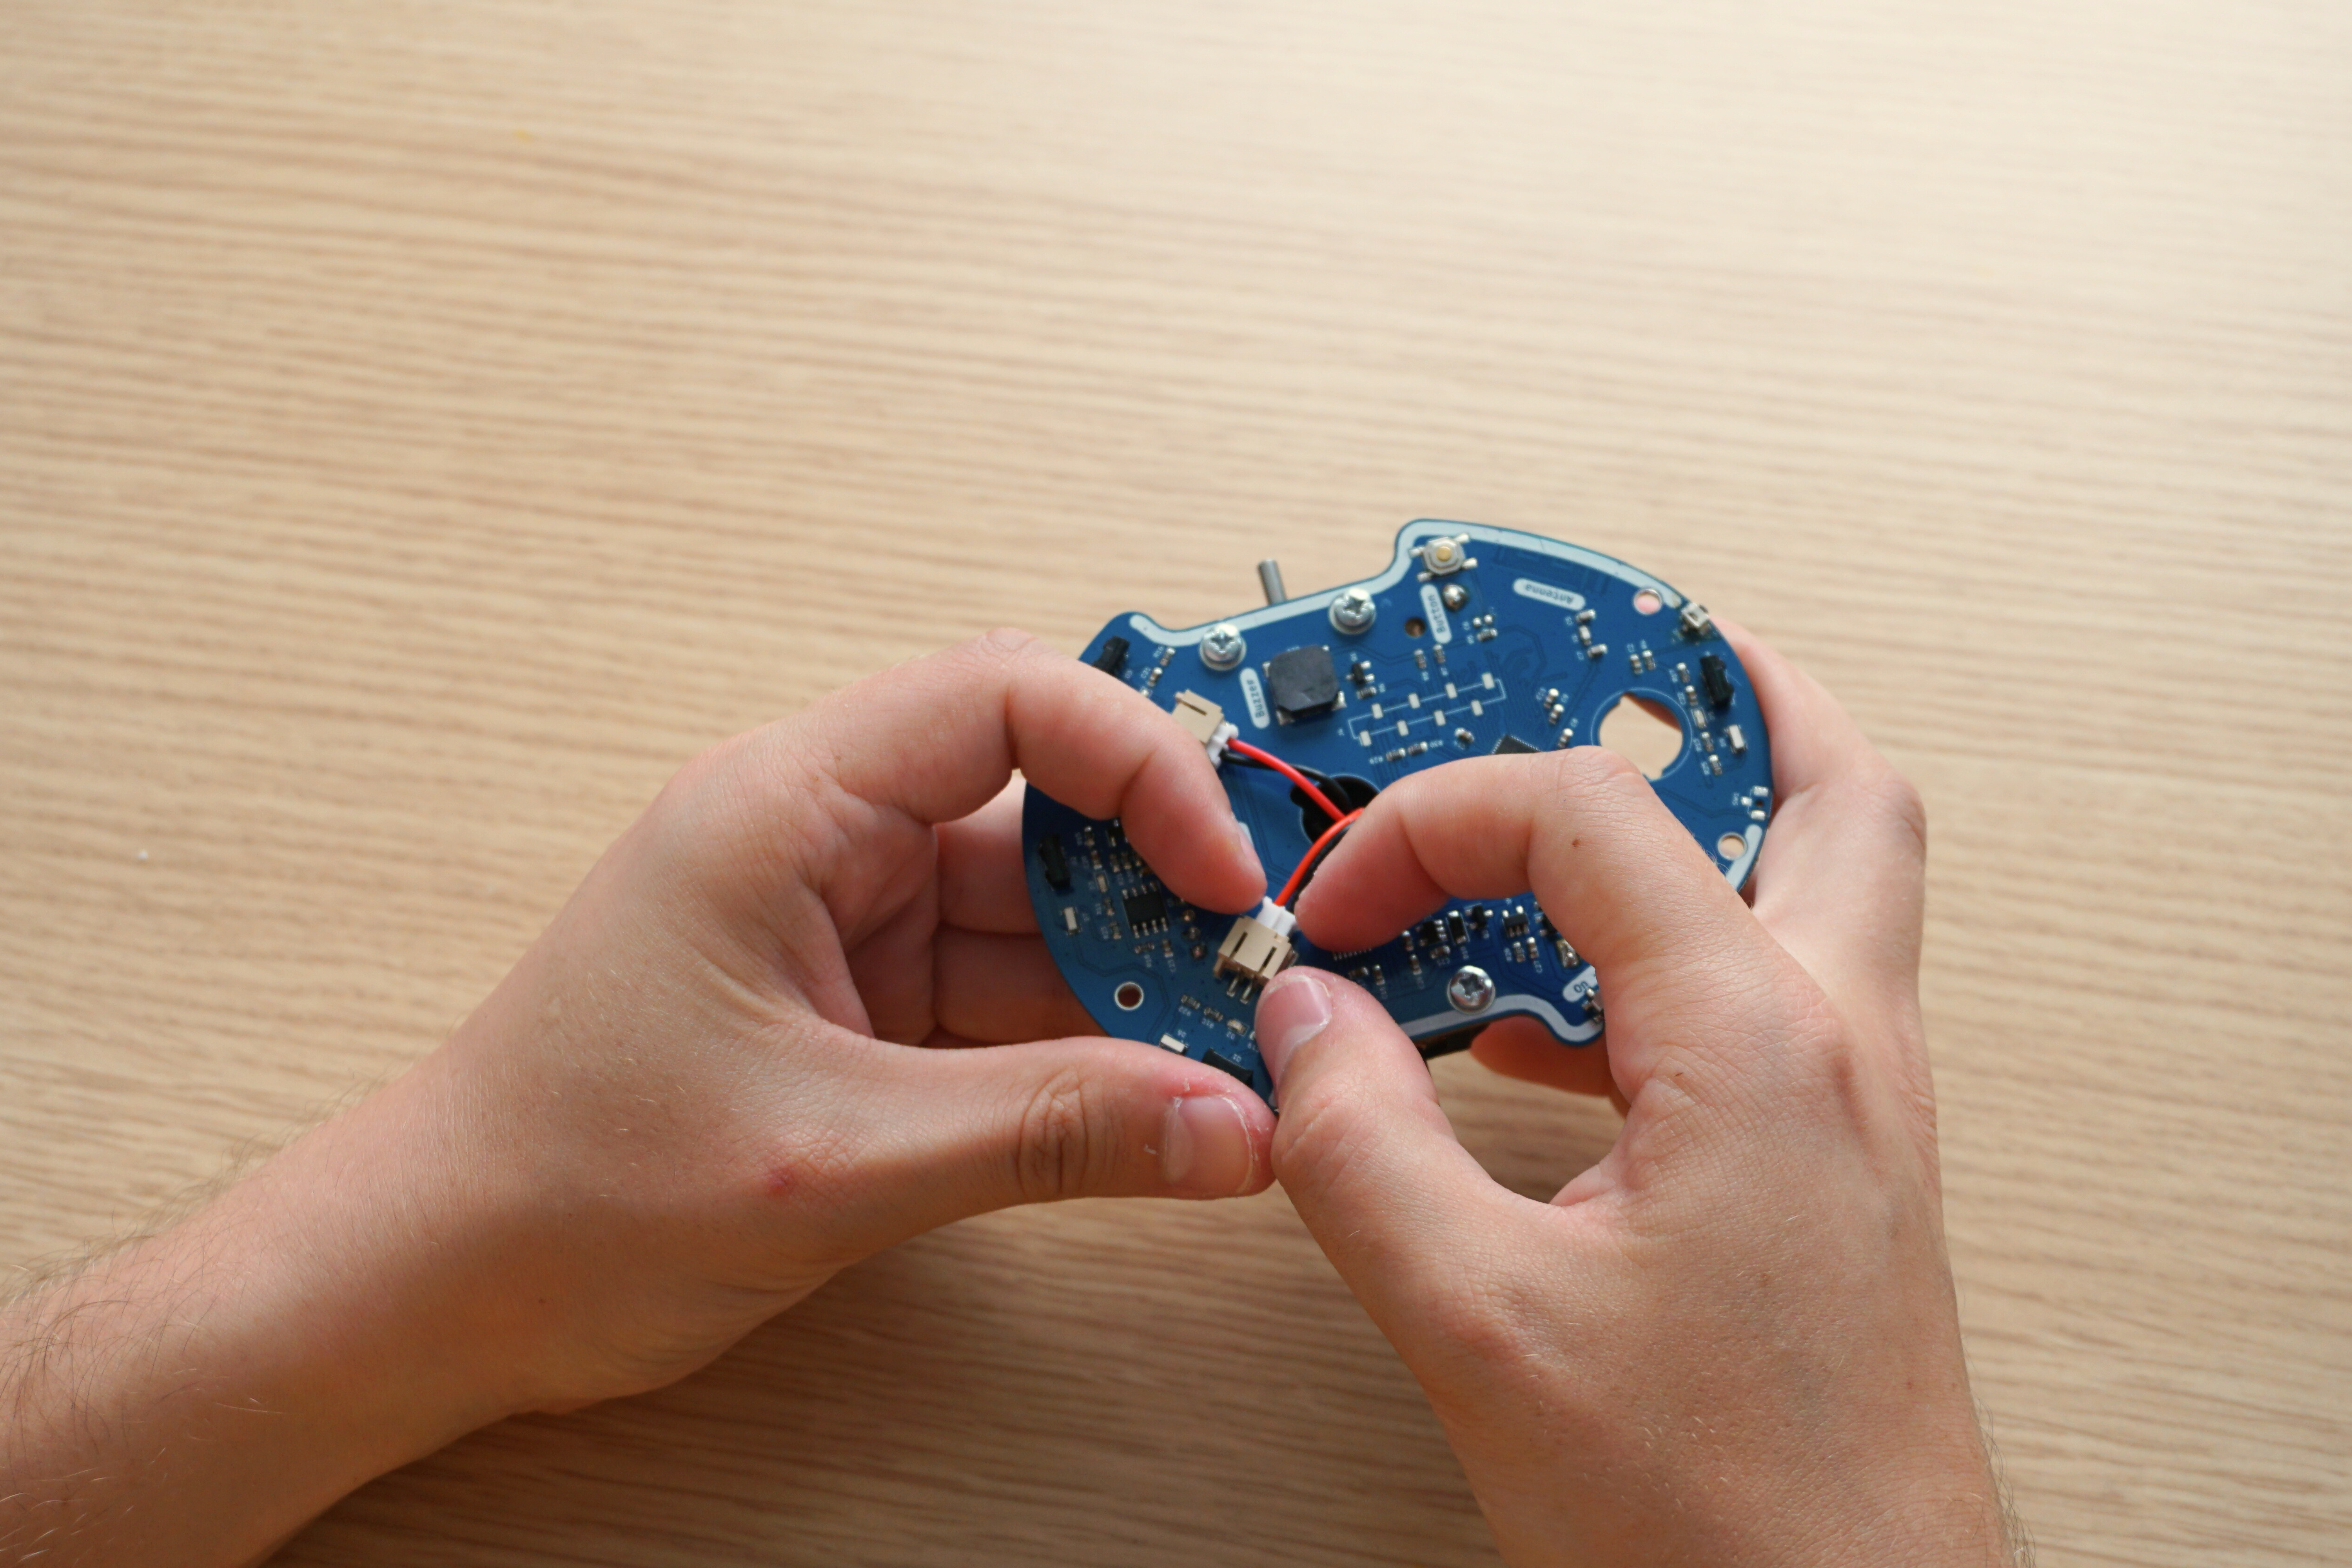
Be careful to connect the right motor to the right connector and the left to the left. If the cables are reversed, Eliobot will then move backwards instead of forwards and turn in the opposite direction.
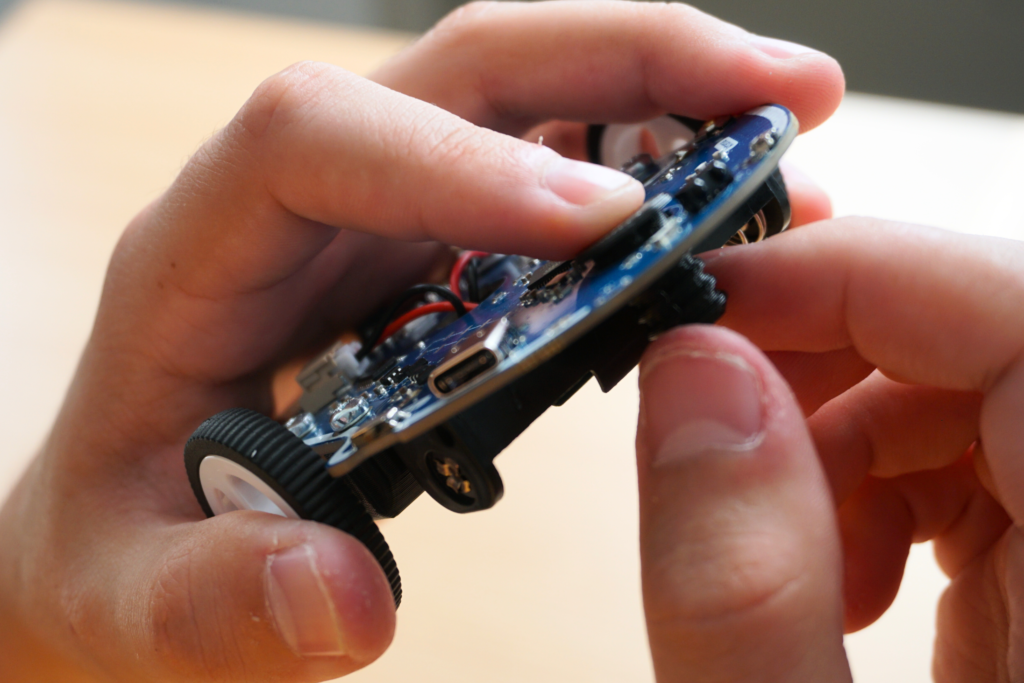
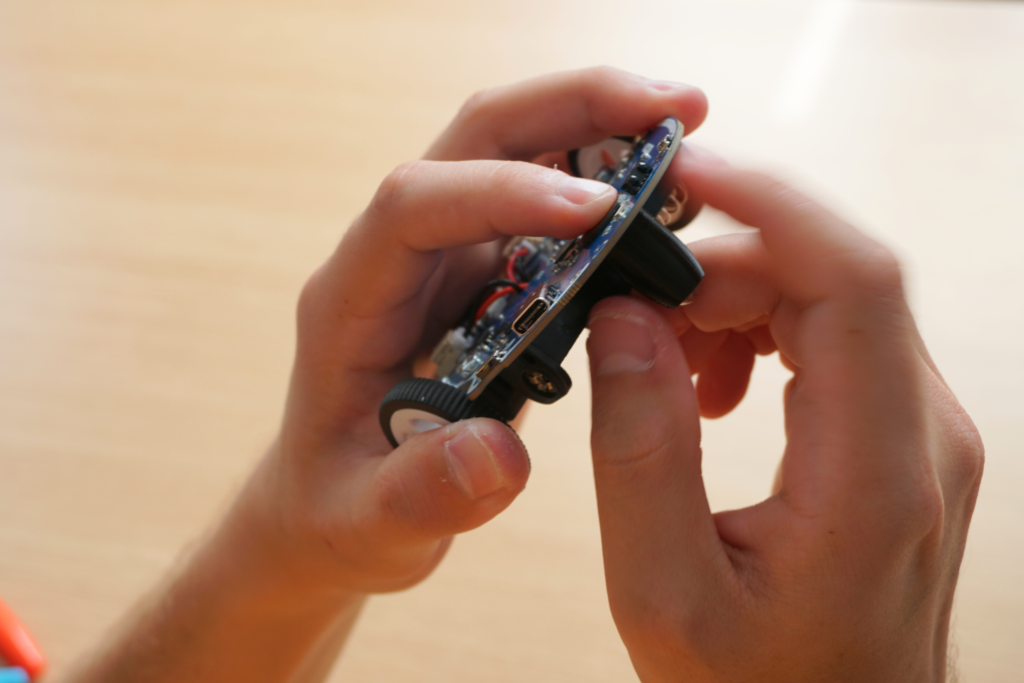
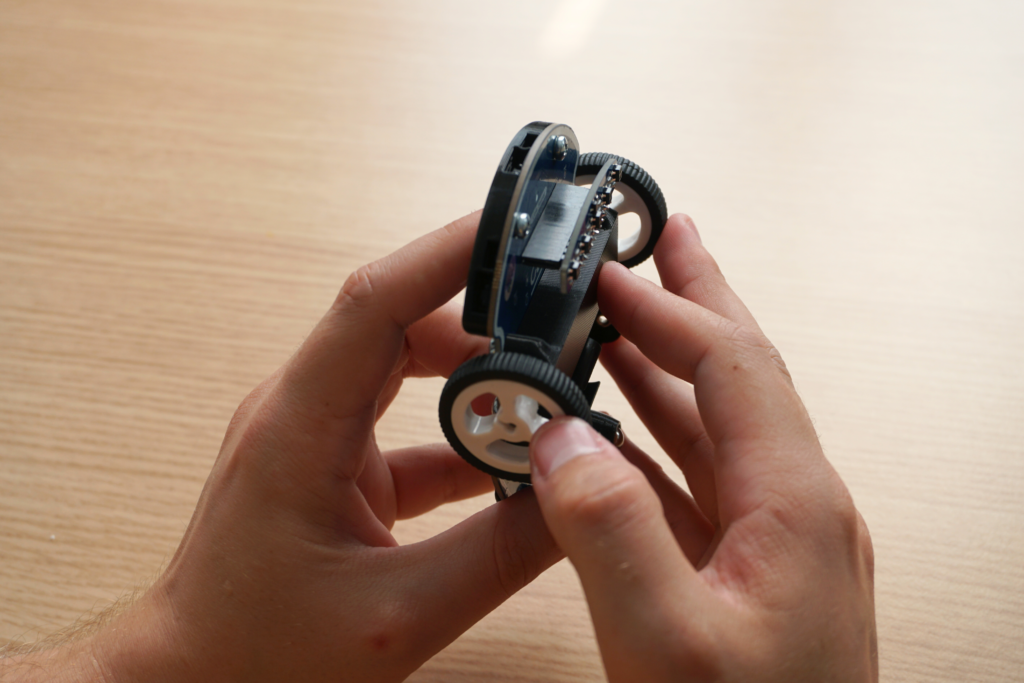
Step 4: Wheels – Electronic card assembly
There is a flat part on the motor axle that should line up with the straight part in the center of the wheel.
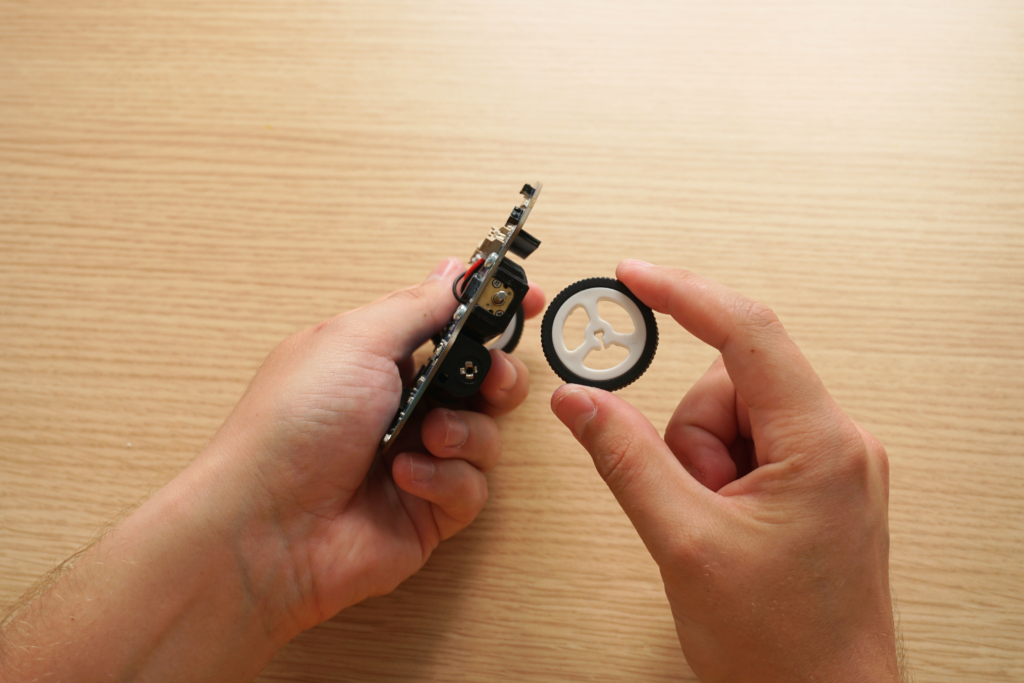
Place the wheel flat on the table (the curved surface facing up) and insert the motor axle into the center of the wheel.
Check that the motor axle is correctly inserted all the way into the wheel.
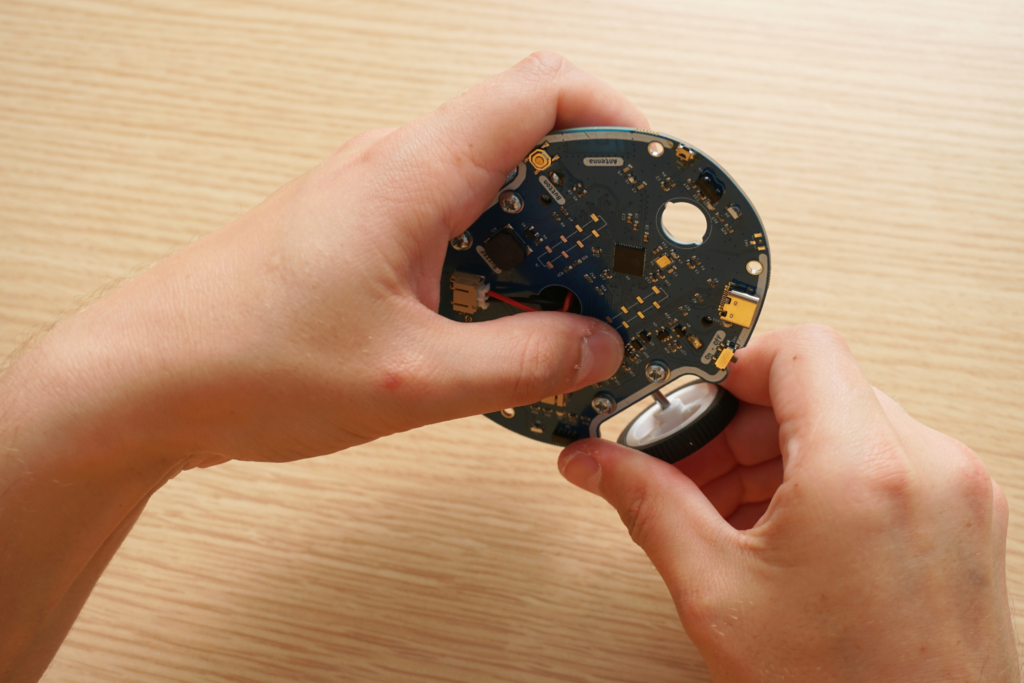
Step 5: Idler wheel assembly – Electronic card
The idler wheel is made up of 2 parts that screw together and a small steel ball.
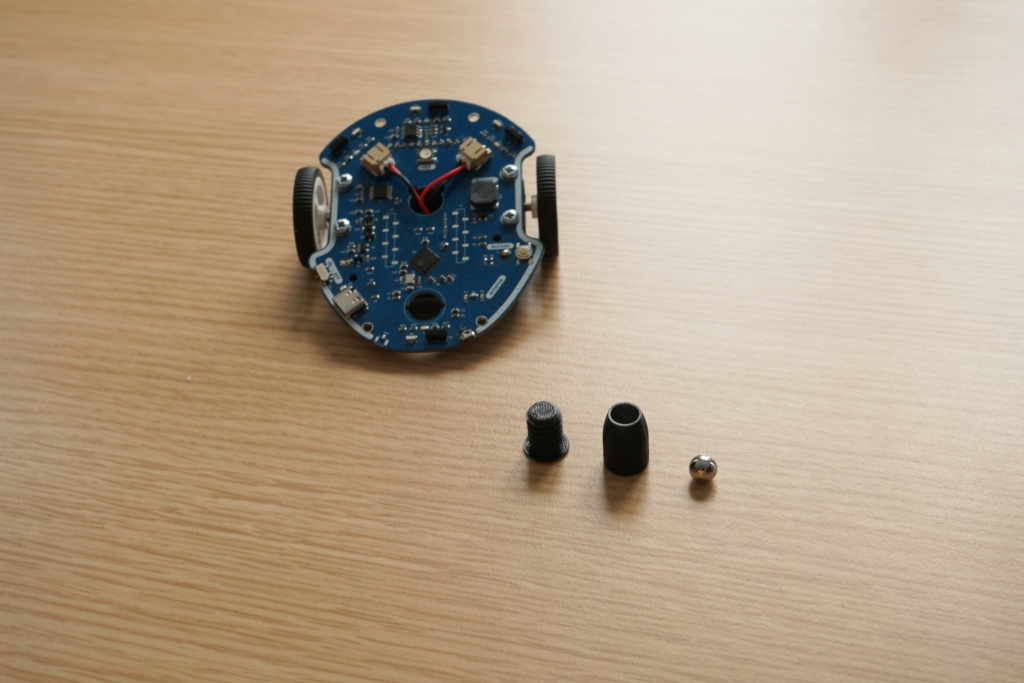
Fully insert the top into the hole on the back of the electronic board. To facilitate screwing, the screw must fit into the 2 small notches located on each side of the hole.
You can then put the ball in the lower part of the idler wheel, then screw it under the card, on the screw you just inserted
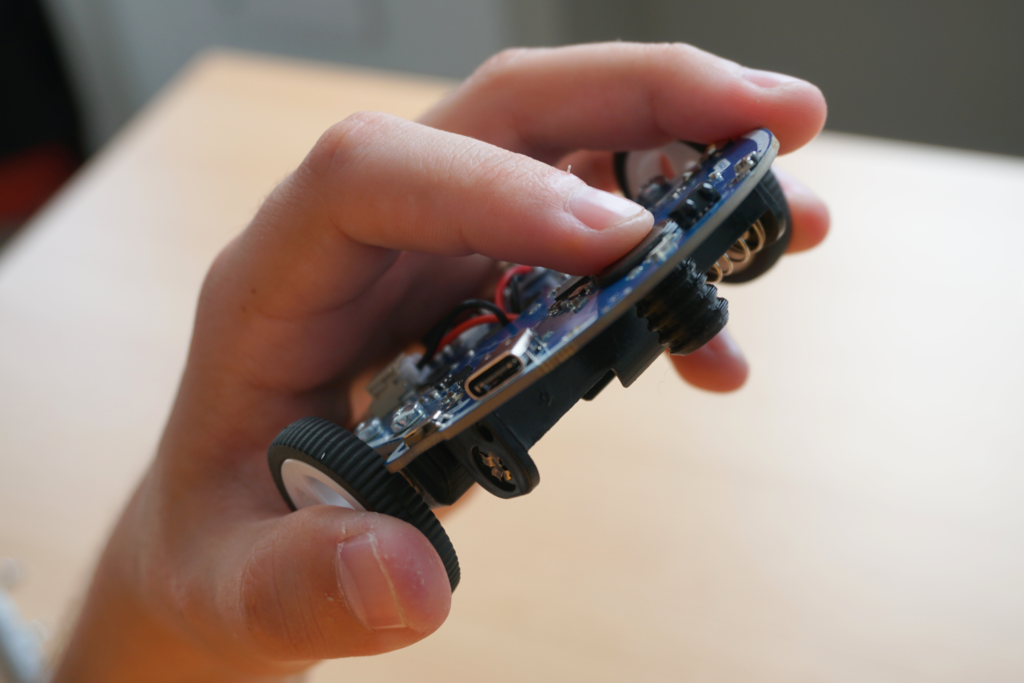
To check that the screw is properly inserted, you can look from the side to make sure it is flat against the card.
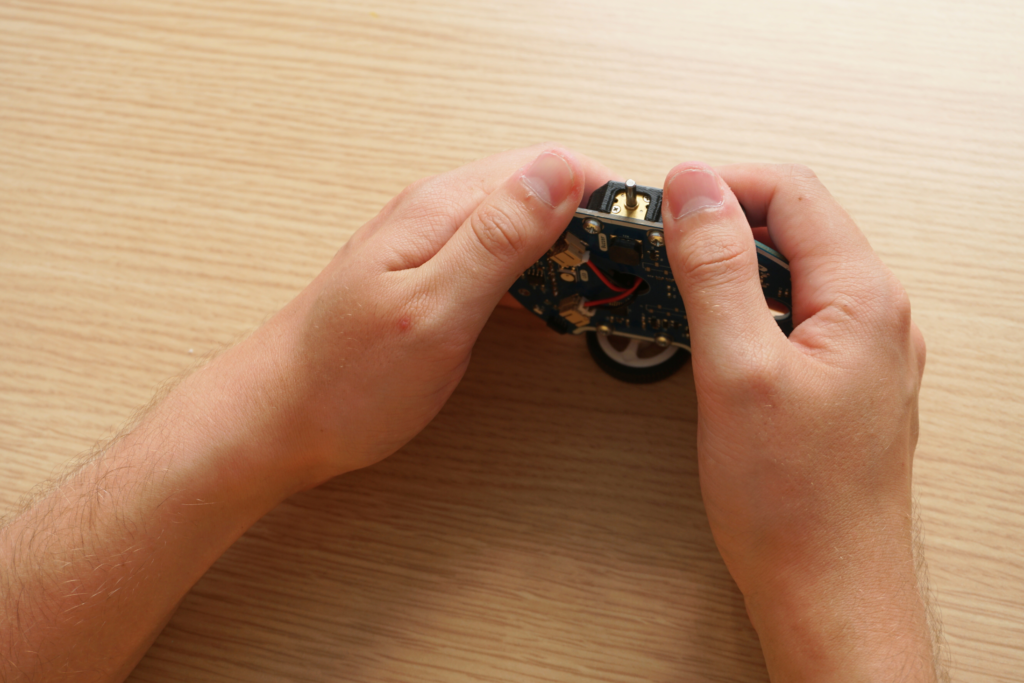
Step 6: Installing the Bumpers
To protect your new companion and ensure that it functions properly for as long as possible, it comes with two bumpers, a large one at the front and a smaller one at the back.
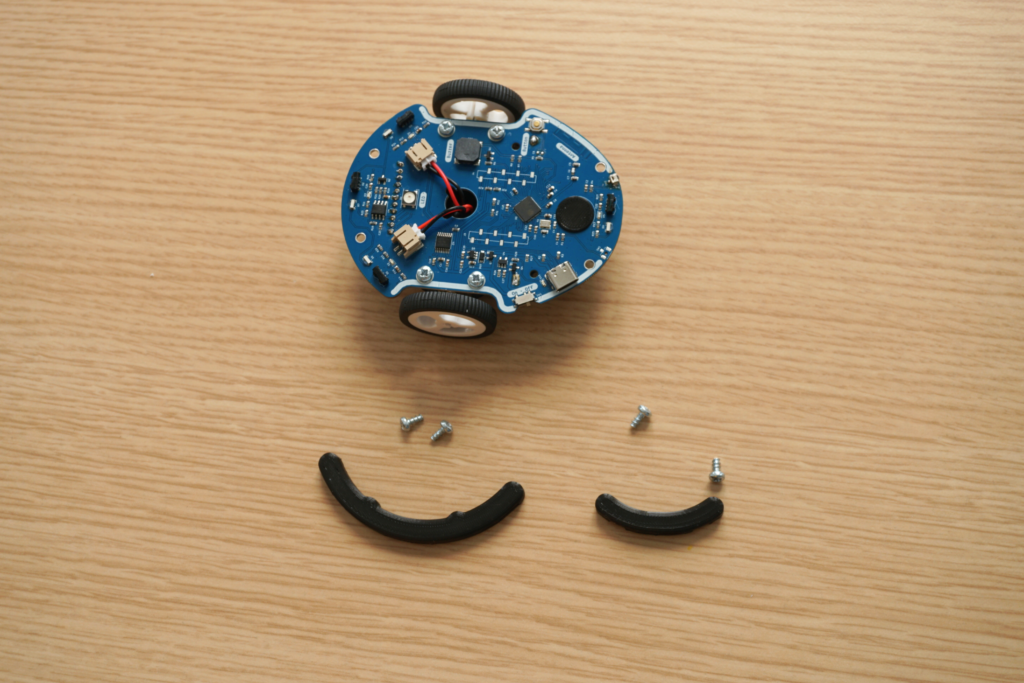
To assemble them, simply place a bumper on top of the robot at the edge of the card.

Then screw it from below with 2 screws. We then start again with the second.
Step 7: Installing the Line Sensor
Insert the sensor pins into the connector underneath Eliobot, with the rounded part of the sensor facing forward.
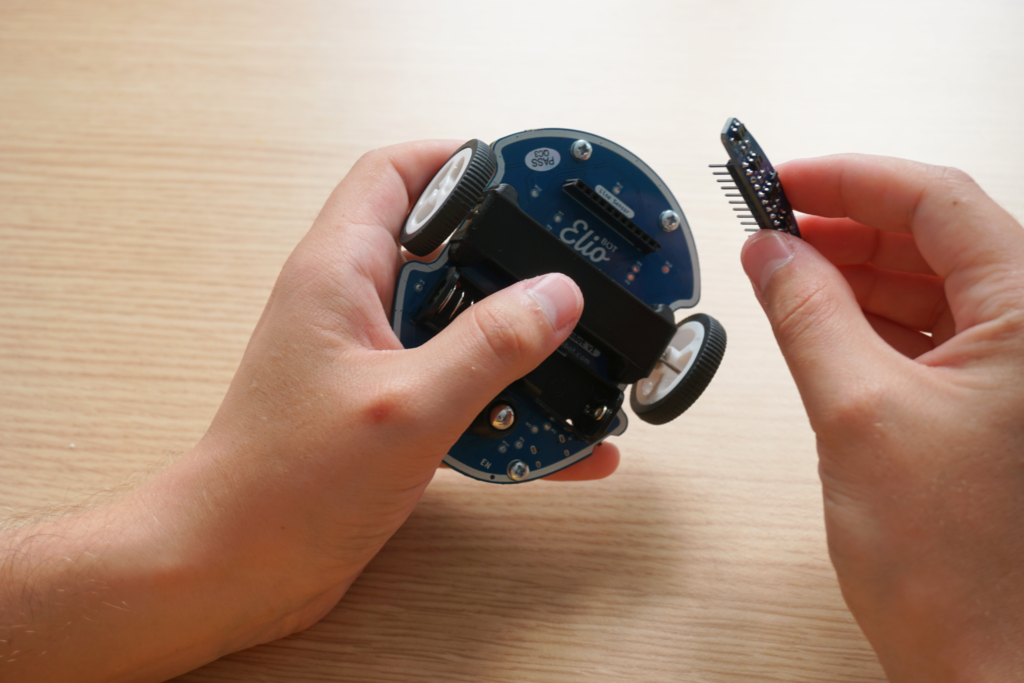
Check that the sensor is inserted all the way and aligned properly so that it functions correctly.
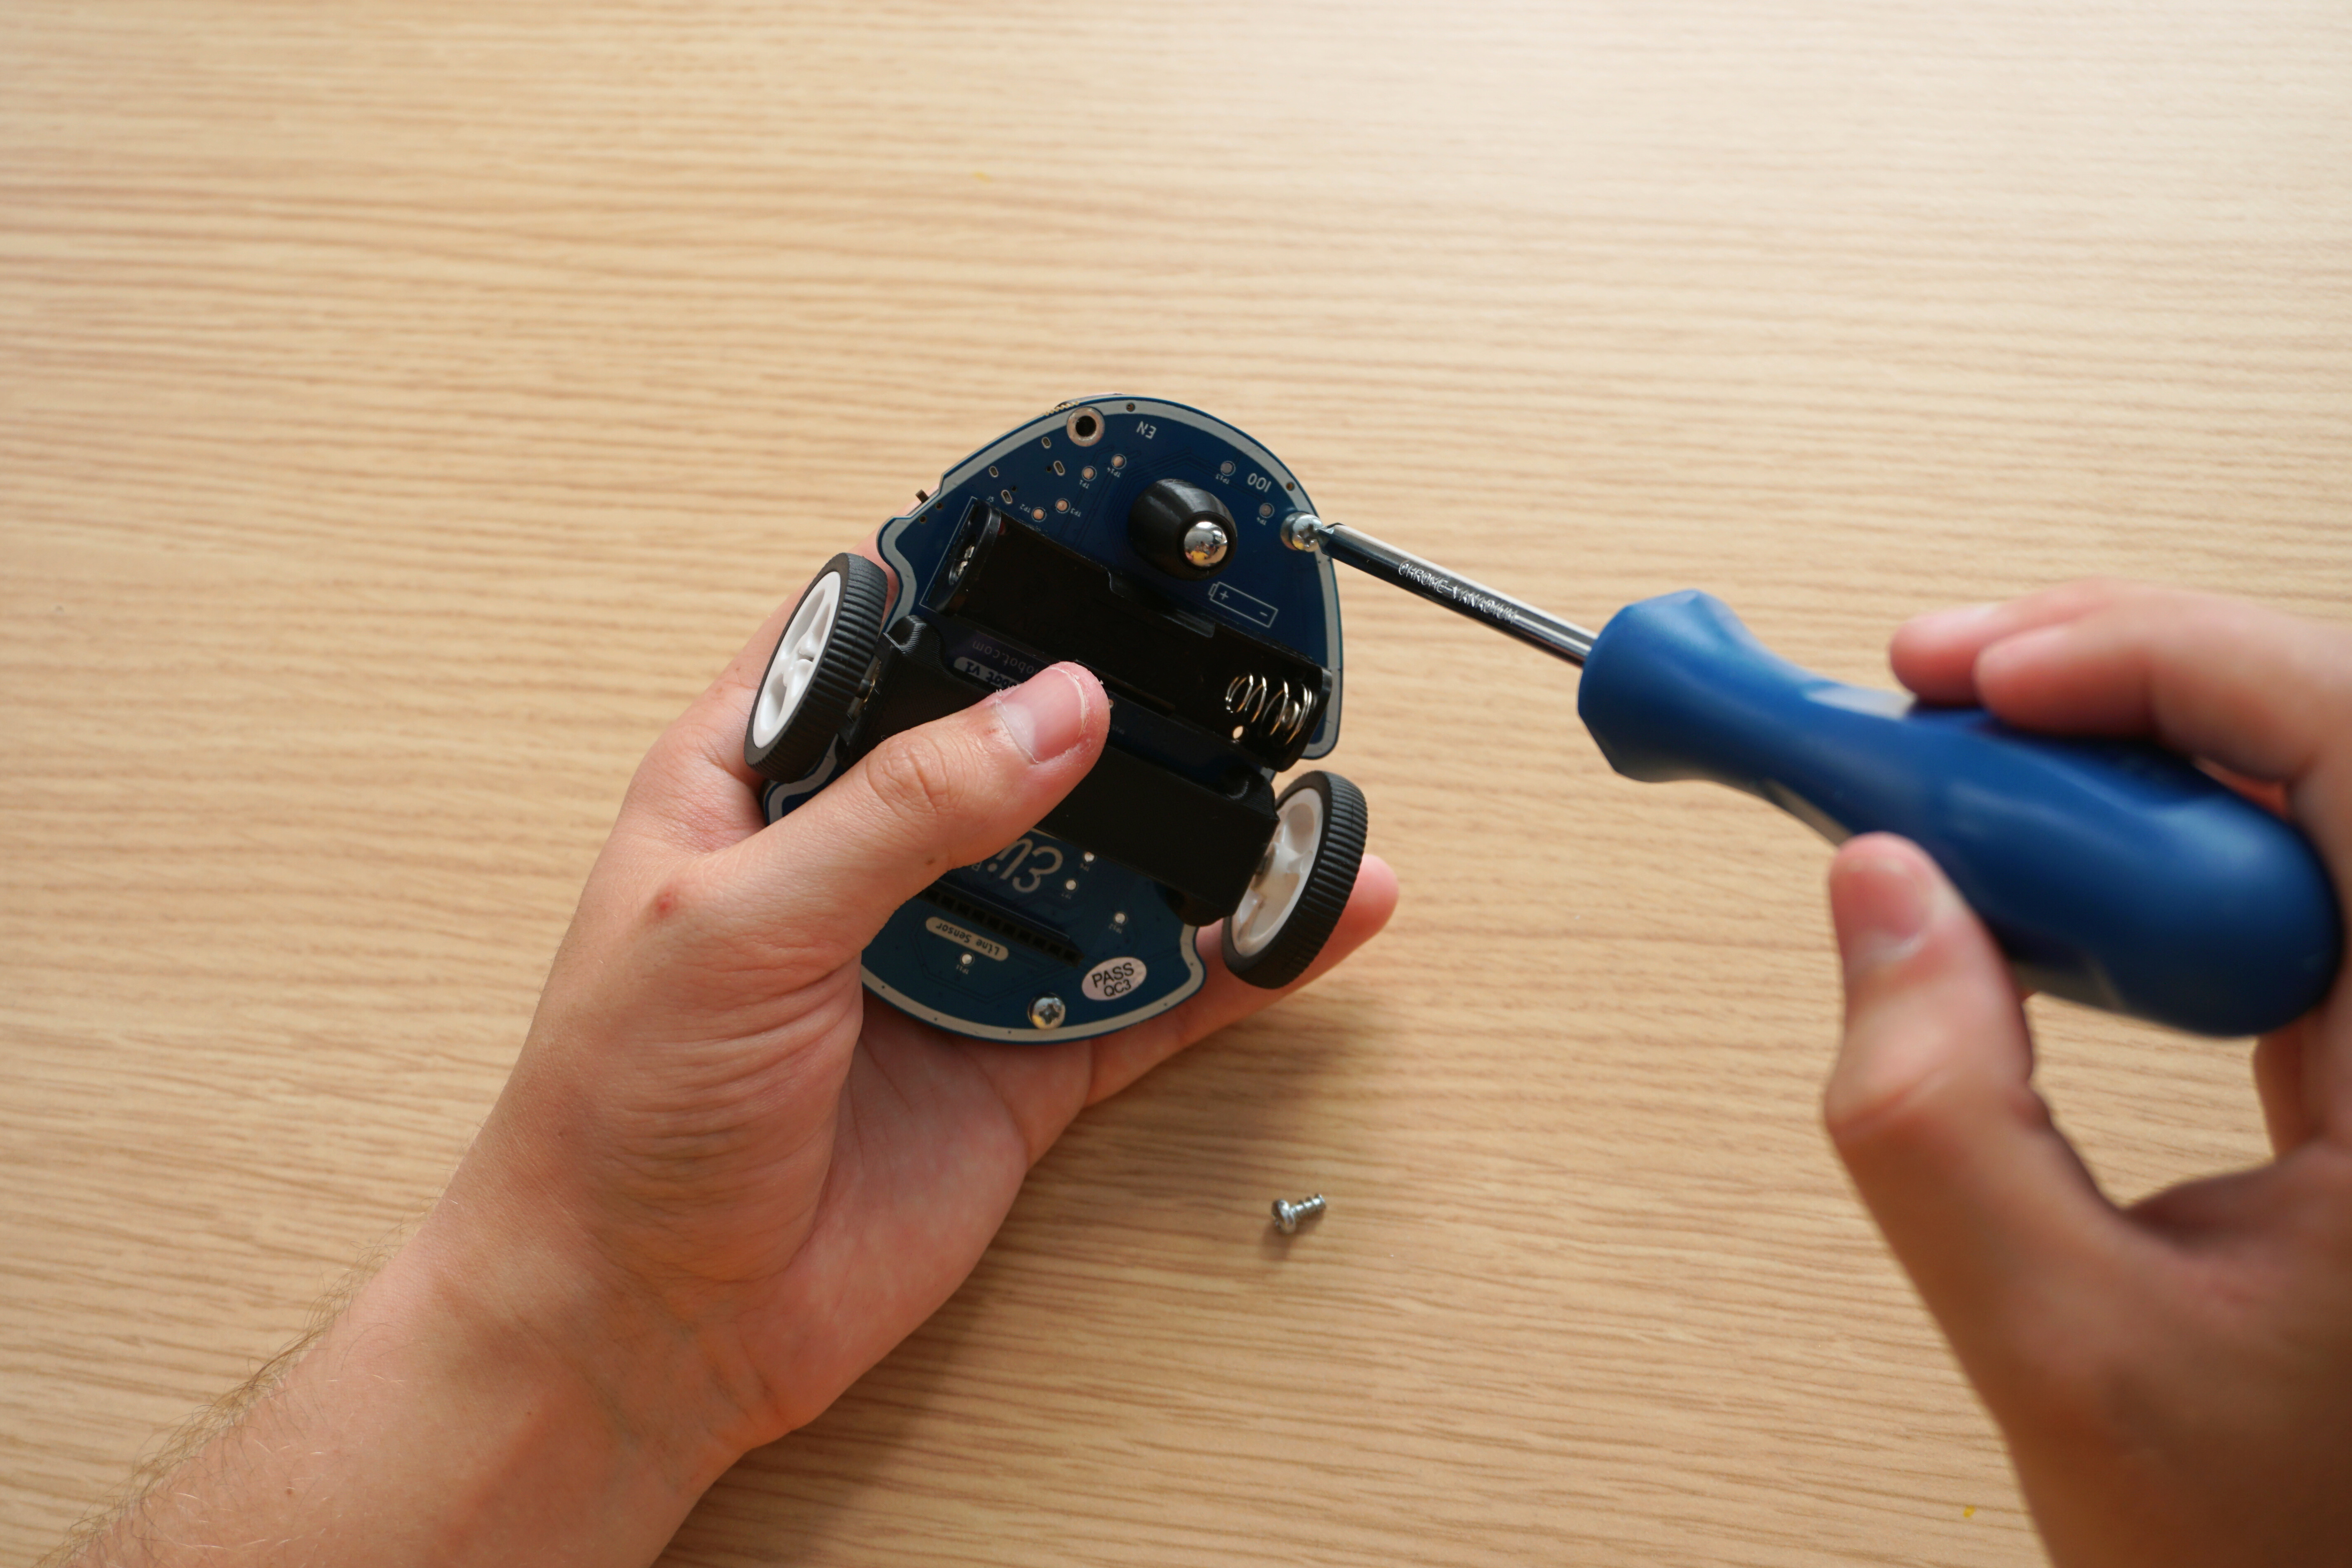
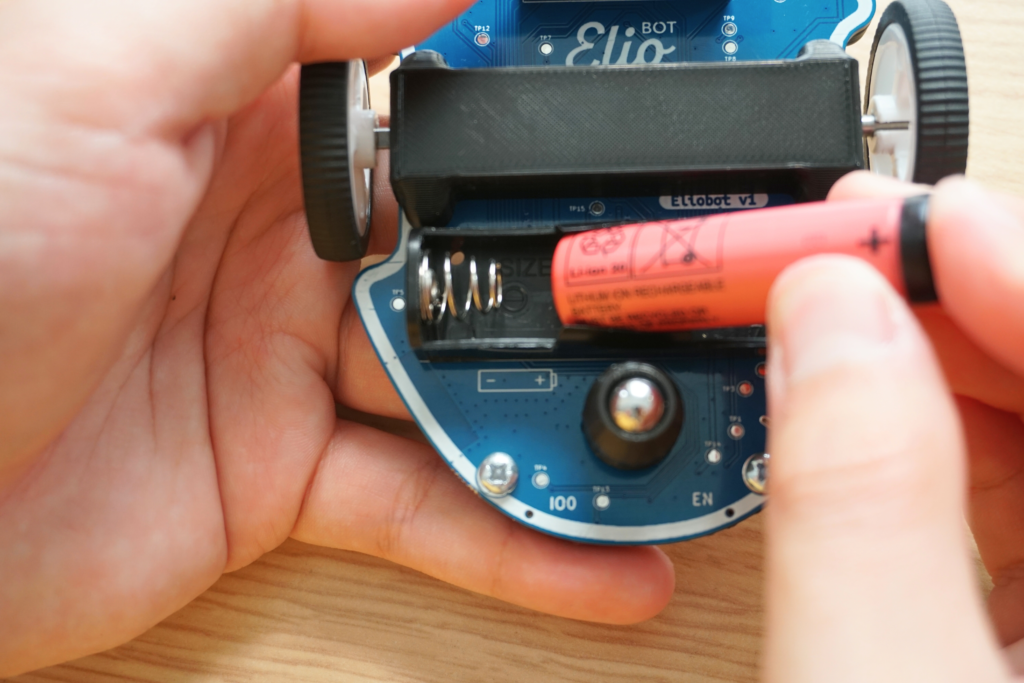
Step 8: Installing the Battery
The battery is inserted like a conventional battery, check the polarity (+ and –) before putting it in.
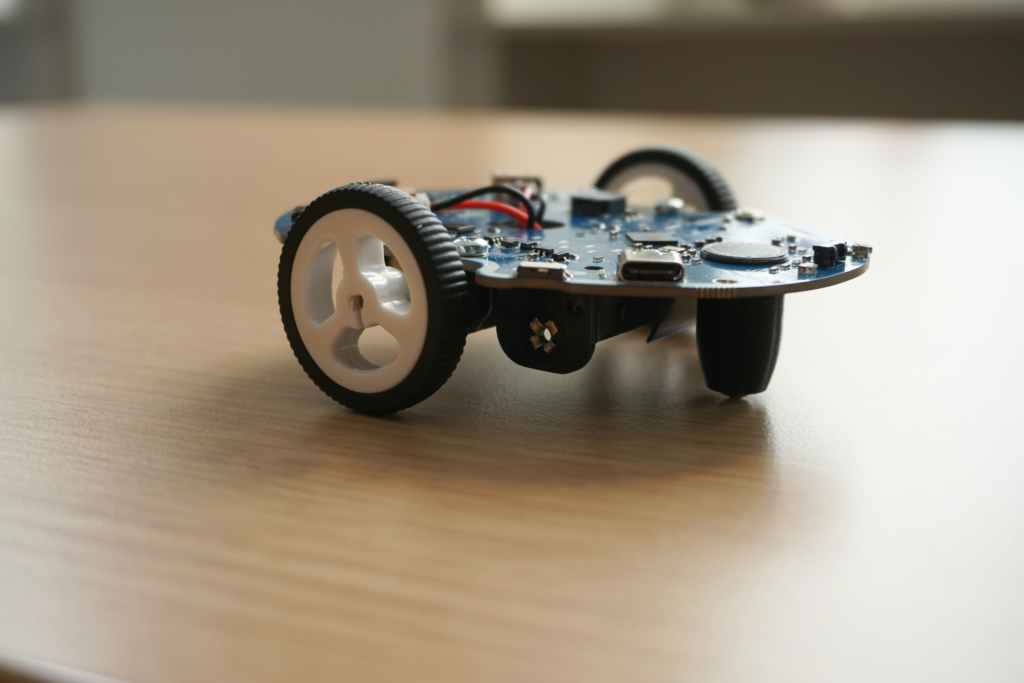
Tadam! Here is Eliobot
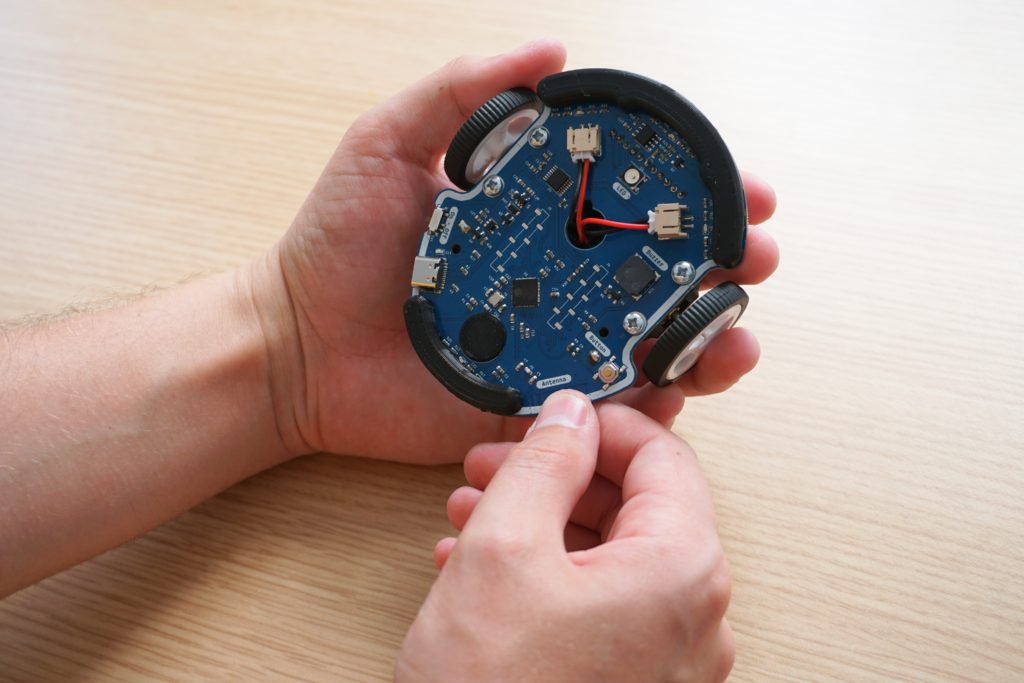
Be careful to hold Eliobot the right way! The front is the wider part and the rear is the narrower part.
To turn it on, there is a switch on the rear left edge of the board (right next to the USB socket).

To charge the battery, it's like with a phone. Simply connect the Eliobot USB cable and you will see a small LED light up next to the socket. When it turns off it means it has finished charging!
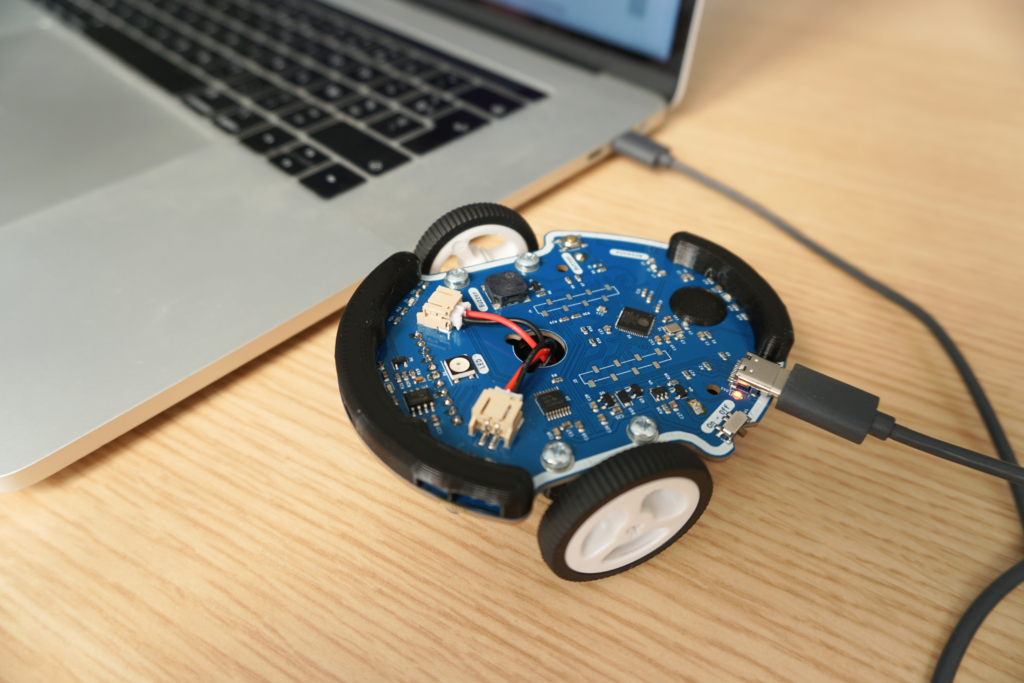
Well done, you have successfully assembled and turned on your Eliobot! You are now ready to move on to the next step: programming. To do this, go to our following tutorial: First program.
Consider sharing your experience on social media and on our Discord server. We will be happy to share your creations and discuss together.
See you soon 🙂