Blink the LED
Now that you have assembled your Eliobot, you will learn how to program it. In this tutorial, we will guide you to create a very simple test program that will allow you to get to grips with the interface.
Creating the program
This “test” program will allow you to flash a green light (or the one of your choice) on Eliobot. Follow all the steps carefully and the result will be there :)
Color selection
The first step is to select a color. Go to your toolbox and click on the “Colors” block. Select the “Show Color” block and drag it into the workspace.
Choice of color
You can then change the color of the light that will light up on Eliobot.
Click on the red dot in the workspace then select the color you want to obtain.
It is possible to create the color of your choice: green, blue, pink, yellow… have fun!
Choice of time delay
The third step is to determine how long the light will stay on.
Click on the “Utilities” block then on “Wait 1 second(s)”. Drag the block below first into the workspace.
Have you noticed the shadow that appears under the block when you bring it closer to another? Release it and it will come together
Turn off the light
The fourth step is to turn off the light to cause the flashing effect.
To turn off Eliobot's light, go back to "Colors" and insert the "Turn off the light" block after the others.
Choice of time delay
The fifth step is to determine how long the light will stay off.
So you can again add a “Wait 1 second(s)” block at the bottom.
Creating a loop
The sixth step is to create a loop so that the LED flashes infinitely.
Click on the “Loops” category then on “repeat while…do”. Drag it around the blocks already present to include them in the loop.

Look, on the green block at the top, there is a piece missing for the loop to be complete.
Eliobot is waiting for a condition to execute its program, so we will force the loop so that the program repeats infinitely regardless of the condition.
In “Conditions” select the “true” block. Slide this block to the top of the loop to complete it, and voila!
Eliobot's programming
Eliobot connection
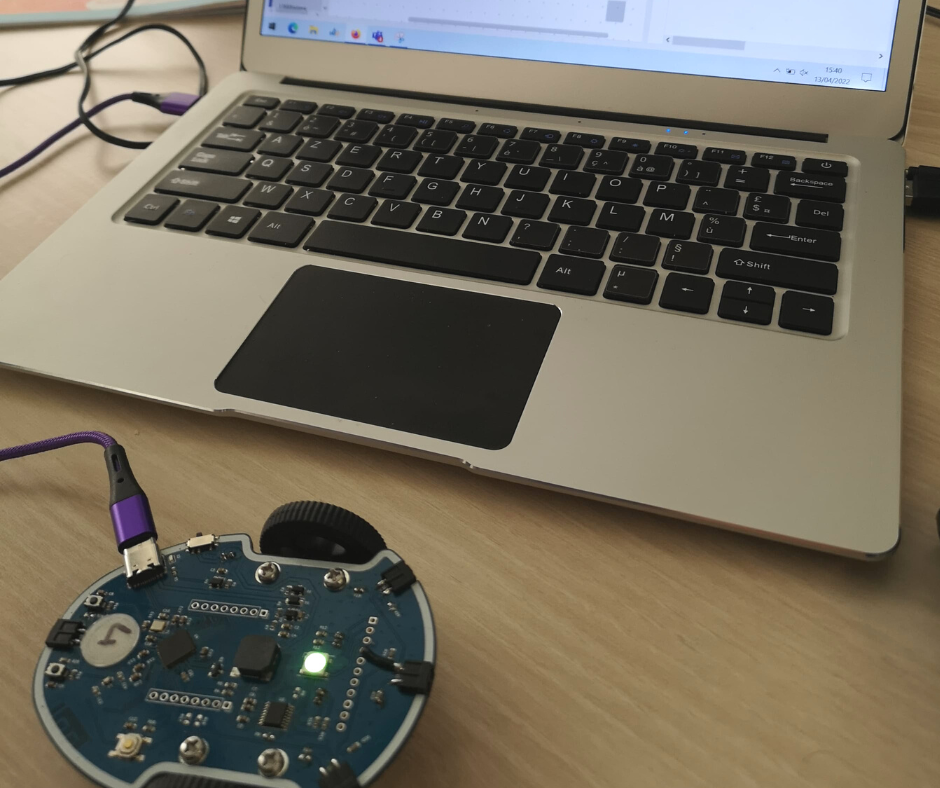
Now is the time to connect Eliobot using the USB cable if you haven't already done so.
The small LED next to the socket lights up to show that Eliobot is charging. When it turns off it means it is fully charged!

Sending code to Eliobot
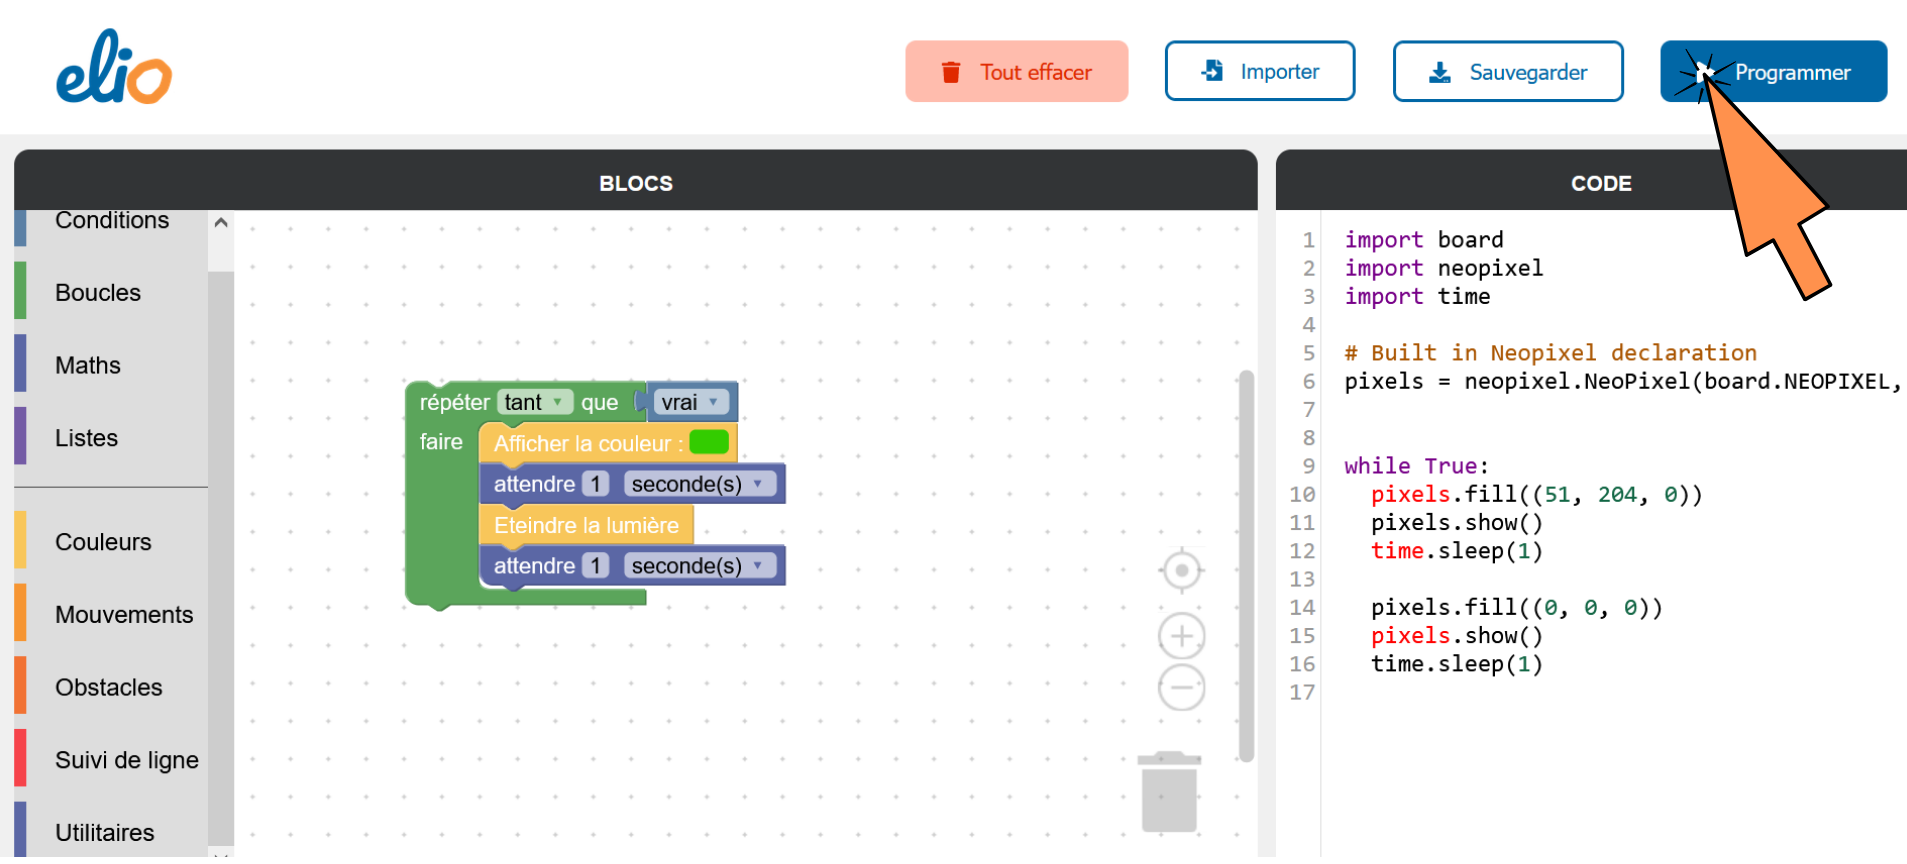
To test your program on Eliobot, simply click on “Program”
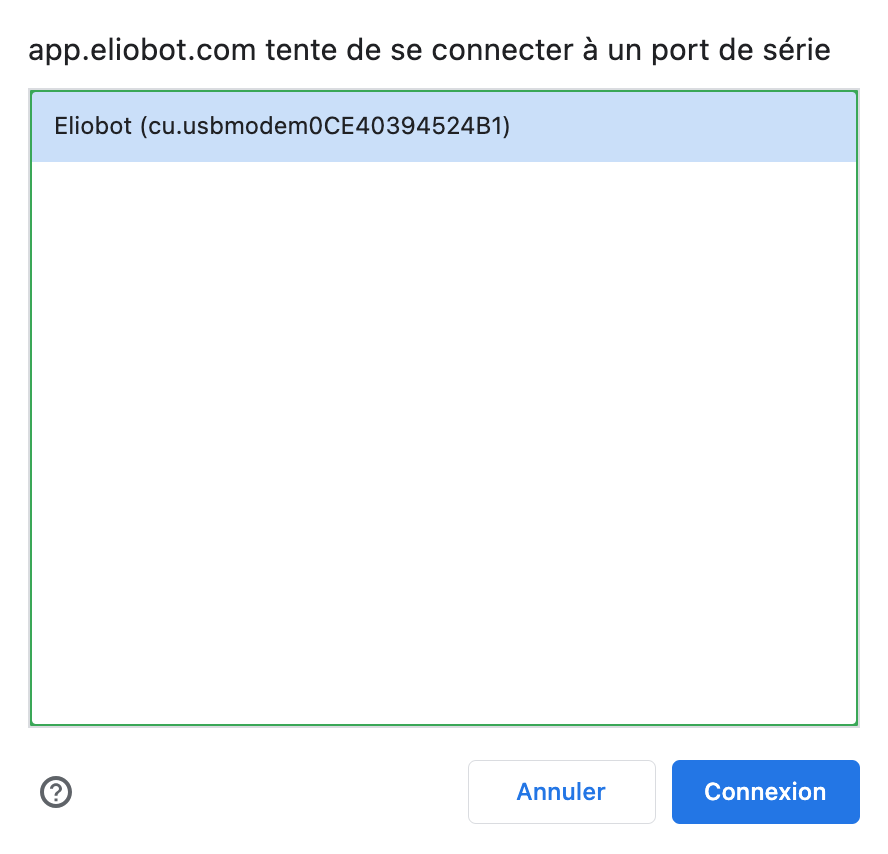
A window opens, requesting access to a serial port, select “Eliobot” or in certain cases “CircuitPython”, then “Connection”
Eliobot will then restart then flash purple then yellow, that's it, it's programmed!
Realization of the program
The program is now transmitted to your Eliobot. Turn it on and admire the work. What do you observe?
A green light (or the color you have chosen) will then flash on your robot! 🙂
Congratulations on this new step in programming. Next step, challenge Eliobot by making him move :) Are you ready to take on this new challenge?
Consider sharing your experience on our social networks. We will be happy to share your creations and discuss with you.
See you soon 🙂